Materials
- Black Felt
- Chicken Wire
- Wire Cutters
- Fabritac
- Got2B Freeze Spray
- Large Safety Pins
- Nylon String
- Base Wig
- 2 Ponytail Clip Extensions
- Curved Needle
Process
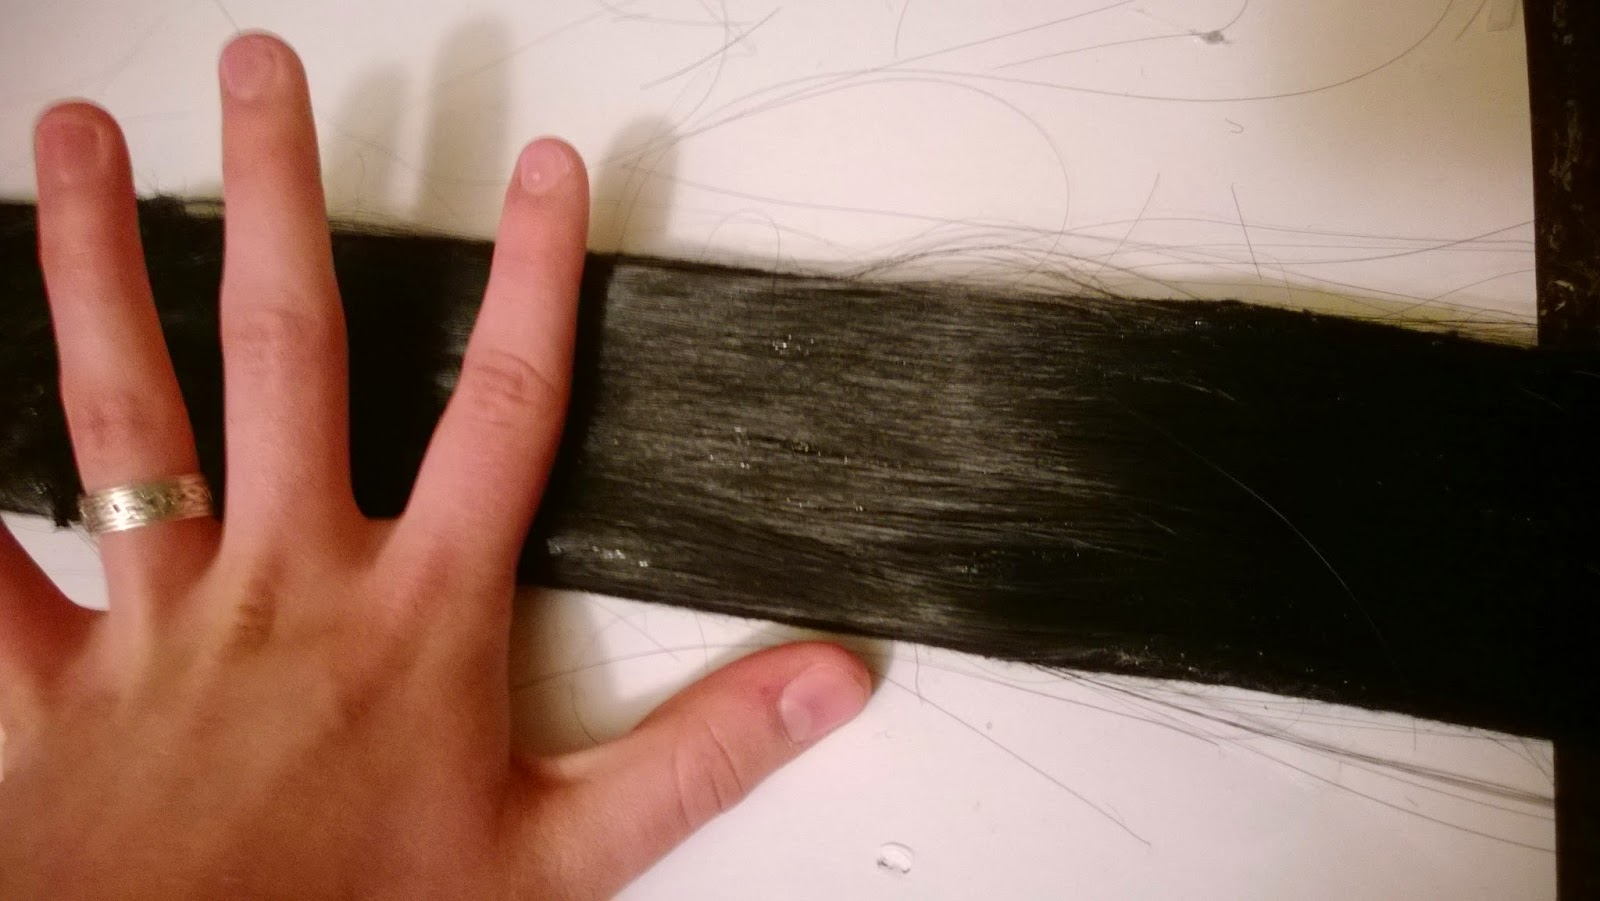
Say goodbye to your pretty extensions! Remove the clip from the extensions and cut out your wefts like so:


Once you have all of your wefts cut out it's time to move on to gluing (I used fabritac) the hair onto the felt covered chicken wire base. This will take A LOT of patience. Be sure that every weft piece you use is tangle free and use the comb to guide it onto the glue. I suggest just doing a little bit at a time, and since my weft pieces were short, I had to make sure to blend the pieces together so they wouldn't stick up once the base was curled.
*be extra careful using fabritac glue, it can make a huge mess and while is dries clear, if it gets on the wig hair it will look like a white glob, so make sure to get the glue only where the hair will be covering it up! Lightly pat it down and spray it with the got2b freeze spray as you go.


And eventually you will have your base!

And now it's time to curl that base, and this, in my opinion, is the most nerve wracking part because it's tricky trying to form the curls without messing up the glued on wig hair x__x and you really have to wrangle it to get everything in place, but be very careful! I used large safety pins to keep them in place, and use them generously (as in buy a lot!!) because they will snap if there aren't enough. Once both curls are formed and symmetrical to your liking, it should look like this:

Now that everything is in place, it's time to replace those safety pins with the nylon microfilament, which I am just going to refer to as clear thread. I used a curved needled to force the thread through the hair pieces (which is pretty thick after the chicken wire, felt, glue and wefts) and sewing them together very tightly! Sew on all the places that are being supported by the safety pins, treat them like a guide.

AT LAST YOU HAVE YOUR DRILL CURL! all those pesky safety pins have been successfully replaced with the nylon thread! Looks so nice and clean :D

Last step is figuring out how you want to mount them onto the wig. There are many different ways to do this! Since my time and materials were limited, I ended up using the hair clips I had taken out of the extensions and sewed them onto the drill curls. I then just glued those onto two head bands (which I also glued together) and then just kept gluing things together until they stayed! Sometimes that's just how cosplay works, but by all means, if you know of a better method, I highly recommend anything else. While it looks kind of sloppy it got the job done and the elevation is exactly the way I wanted it to be!


No comments:
Post a Comment