The Basics
There are three types of electroluminescent products:
El Wire

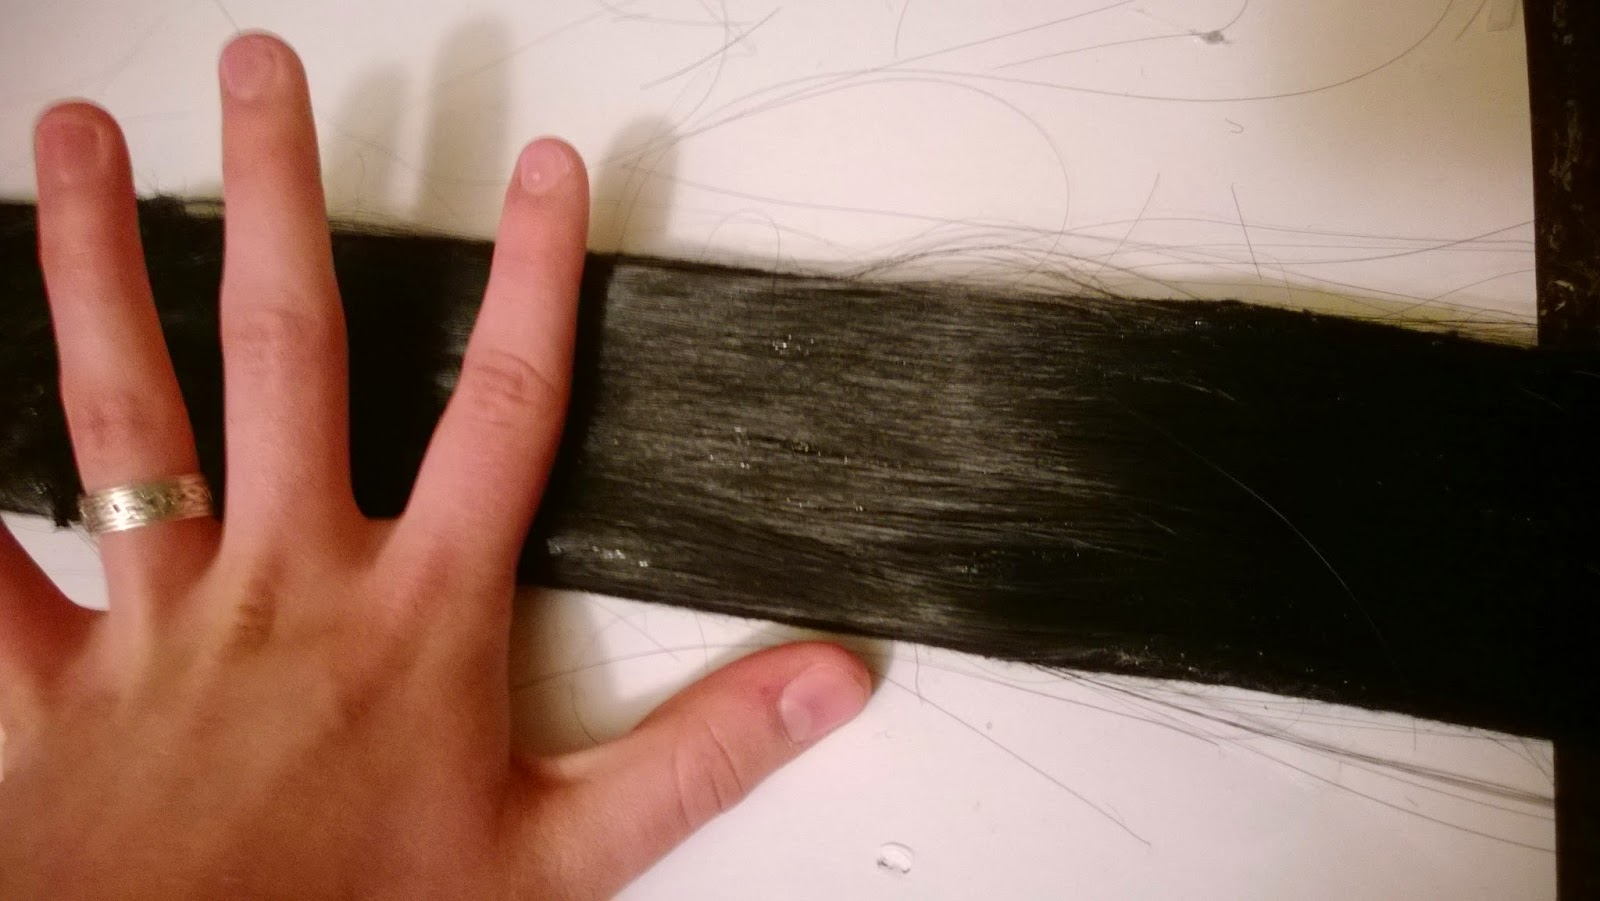
El Tape

El Panel

In order to power up these lights you have to have a battery pack, also known as an inverter, which converts direct current (DC) to alternating current (AC). The type of inverter you will need it dependent on the length and width of whatever product you choose. Sites like Adafruit will let you know how much wire/tape/panel any particular inverter they sell will power.
That's Cool Wire sells EL wire in a variety of widths, and they claim that 2.6mm will give off the brightest glow.

Planning Out Your Design
Before you purchase your El wire or tape you need to find out how much you will need, and how much you need will depend on the type of inverter you buy. The longer the length of a strip, the more powerful of an inverter you will need. The power of the inverter will also determine how bright the El product will glow. Powering one strip that is 24in in length would require the same amount of power as powering 4 separate strips at 6in each. My best suggestion for planning/patterning out your design is using paper strips and wrapping it around the costume is whatever fashion you desire.
Attaching EL to a Costume
El wire is much easier to add to a costume than El tape in my opinion. El wire is thin enough in width to where you can use a large zig zag stitch to sew it into place on your costume.

El tape is too wide to stitch around it. You CAN sew El tape, but it leaves ugly holes, so you may as well just not do it.

One of the most fantastic things about El products is that you can cut them to whatever length or shape you desire (and whatever you cut off can be reused!), that means if while you are sewing and your needle punctures the wire or tape it won't ruin that strip, it will still light up! However, if you cut or poke a hole in your light it HAS TO BE SEALED! I learned this the hard way. I tried sewing EL tape at the edge to secure it to my costume but didn't seal where I had done so, so the tiny holes my needle made caused a small electric shock to occur when sweat (or anything wet) came in contact with it. It got to the point where sweat was literally inside the edge of the El tape I had used so I figured it was ruined, but just cutting that part off made the entire strip work again! It's a very forgiving product which is why I love it.
SEALING
The easiest way to seal your El product once it has been cut is with hot glue, but if you have a solder and heat shrink tubing that is the most durable way to go about it.